Adding EVE-NG Device Images
Table of Contents
Prerequisites#
- EVE-NG Server
- WinSCP or some way to SFTP into your server
Background#
The only device image that comes with EVE-NG preinstalled is the VPCS image, providing an extremely simple, CLI based virtual PC that can basically just send pings and test DHCP. If we want to actually get some value out of this program, we will have to import device images.
A full list of supported devices can be found here
1.0 Acquire and Transfer#
1.1 Getting Images#
Due to legal reasons, I can not directly host the device images on this site.
I will however, share with you the exact file names that you might want to search for…
| Layer 2 (Switch) | Layer 3 (Router) |
|---|---|
| vios-adventerprisek9-m.SPA.156-2.T | viosl2-adventerprisek9-m.SSA.152-4.0.55.E |
| 86bi_linux_l2-adventerprisek9-ms.nov3_2015_high_iron.bin | csr1000vng-ucmk9.16.12.1b-sdwan |
| 86bi-linux-l3-adventerprisek9-15.4.2T.bin |
If you are just trying to get some routers and switches going quickly, i’d prioritize the items that i’ve linked to their search results.
1.2 Transfer#
Now, using a program such as WinSCP, establish a session with your server, logging in as root
In this example, I’ll be loading vios-adventerprisek9-m.SPA.156-2.T, this is a popular L2 switch image that was released by Cisco for their own network emulation software called VIRL or CML.
Create a directory on your server at /opt/unetlab/addons/qemu named vios-adventerprisek9-m.SPA.156-1.T and move the contents of your device image folder over to it. In depth instructions on naming conventions for specific images can be found on EVE-NG’s website.
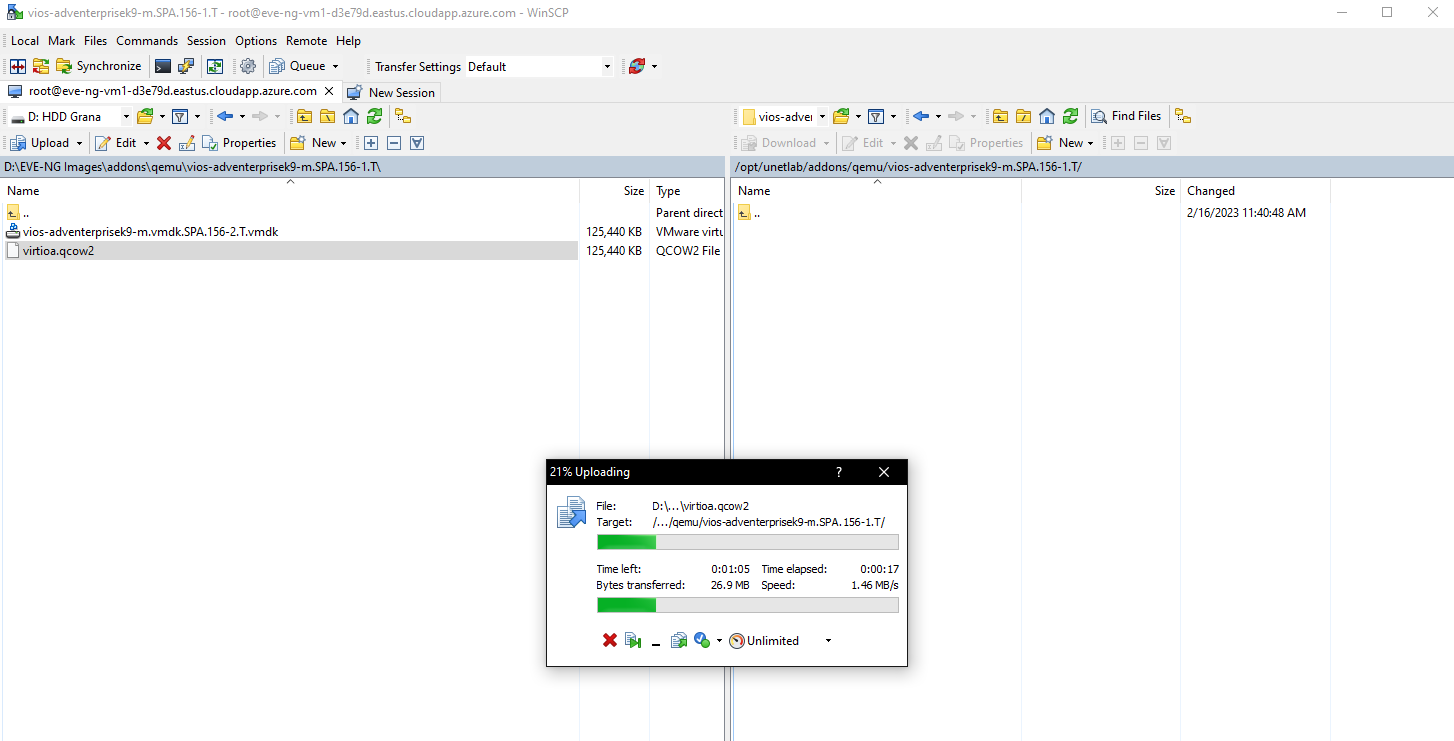
EVE-NG will look for the correctly named folder, in this case vios-adventerprisek9-m.SPA.156-1.T , and expect the file in that folder to be the device it should be. Whatever your actual file name is, make sure it is renamed to virtioa.qcow2
2.0 Fix Permissions & Verify#
2.1 Fix Permissions#
The newly moved file needs to have its permissions modified to work correctly with the EVE-NG application. Luckily, there is an easy-to-use built in script that will do this for you.
Run this command from your EVE-NG server CLI
sudo /opt/unetlab/wrappers/unl_wrapper -a fixpermissions
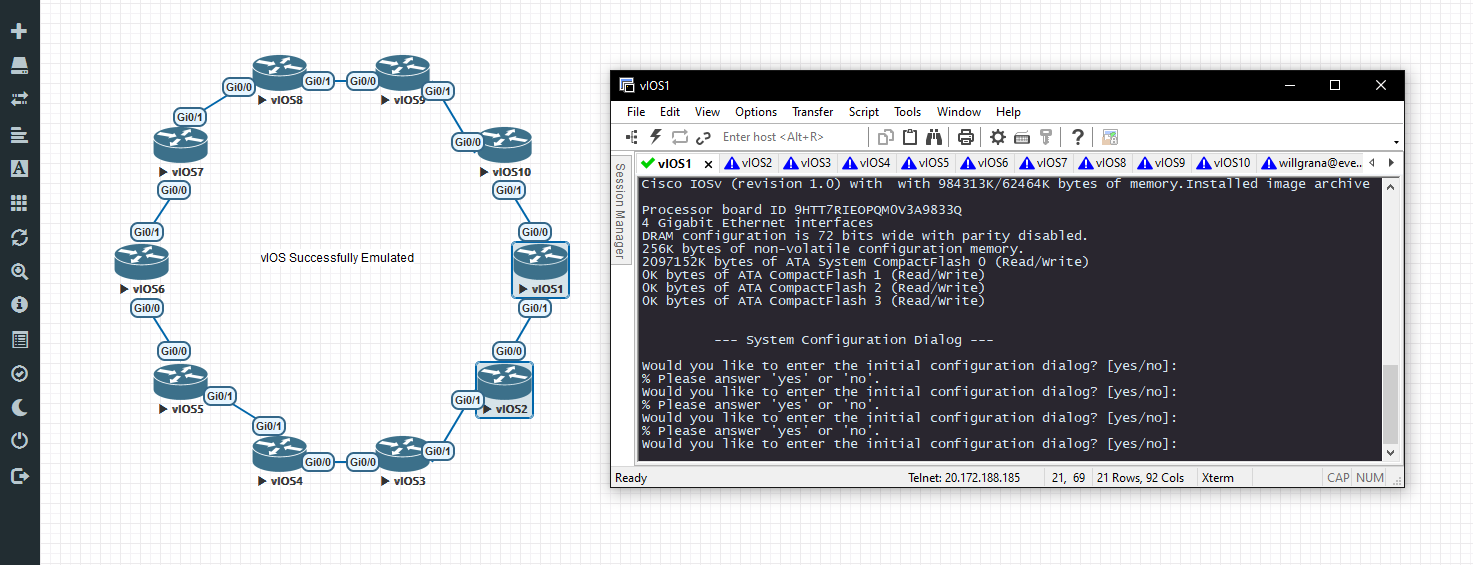
2.2 Verify Functionality#
Open up the EVE-NG GUI and drop in your node. If it starts, you’re done!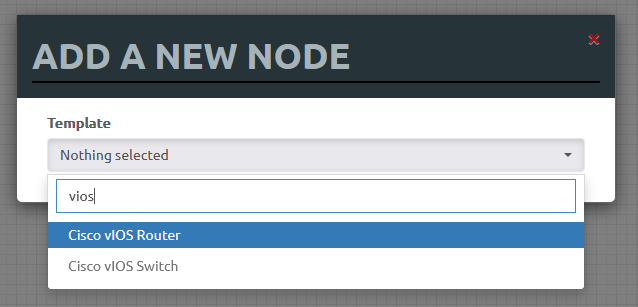
If you need more assistance, feel free to leave a comment or have a look at the official documentation found here
Thanks for reading!
-Will